设计简介
摘 要
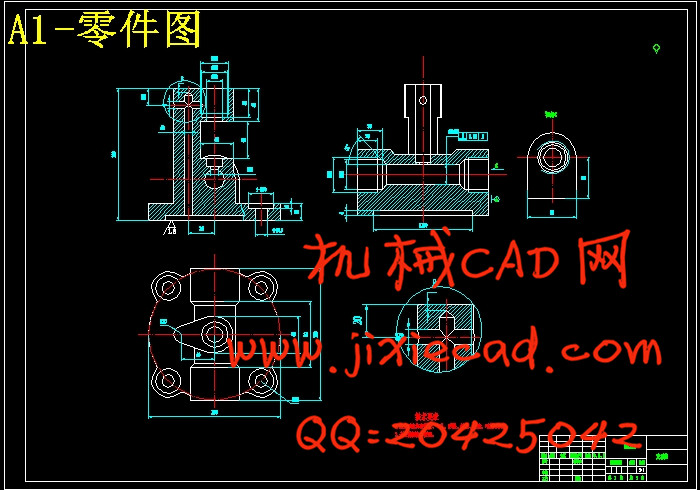
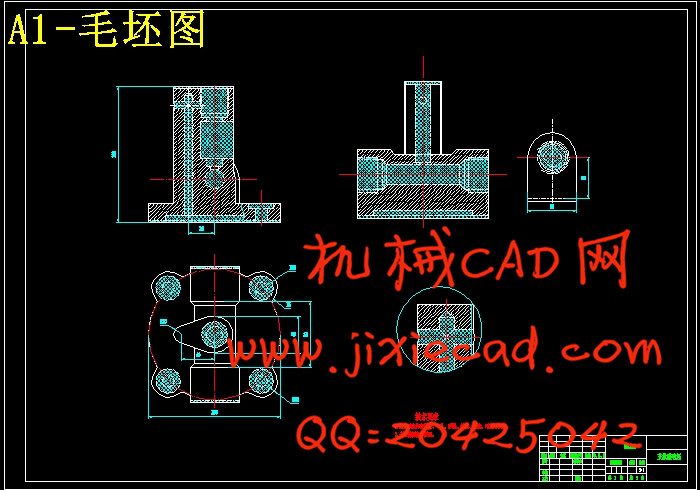
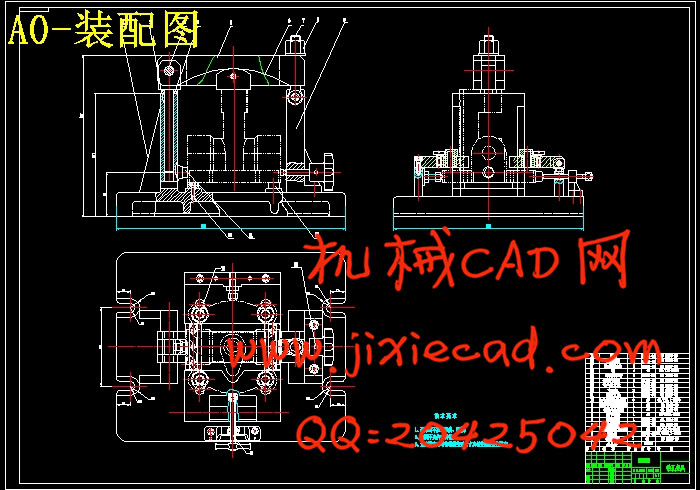
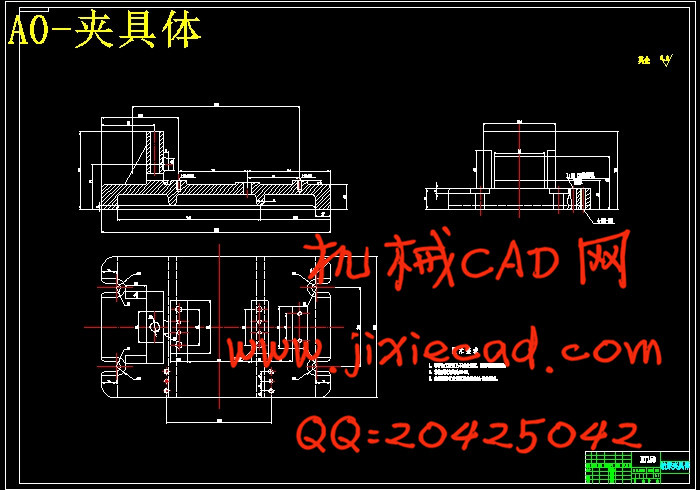
本设计是基于支承座零件的加工工艺规程及一些工序的专用夹具设计。支承座零件的主要加工表面是平面及孔系。一般来说,保证平面的加工精度要比保证孔系的加工精度容易。因此,本设计遵循先面后孔的原则。并将孔与平面的加工明确划分成粗加工和精加工阶段以保证孔系加工精度。基准选择以支承座的输入轴和输出轴的支承孔作为粗基准,以底面与两个工艺孔作为精基准。主要加工工序安排是先以支承孔系定位加工出顶平面,再以顶平面与支承孔系定位加工出工艺孔。在后续工序中除个别工序外均用顶平面和工艺孔定位加工其他孔系与平面。支承孔系的加工采用的是坐标法镗孔。整个加工过程均选用组合机床。夹具选用专用夹具,,机构可以不必自锁,因此生产效率较高,适用于大批量、流水线上加工,能够满足设计要求。
关键词:支承座零件;工艺;夹具;
ABSTRACT
The design is based on the body parts of the processing order of the processes and some special fixture design. Body parts of the main plane of the surface and pore system. In general, the plane guarantee processing precision than that of holes machining precision easy. Therefore, this design follows the surface after the first hole principle. Plane with holes and the processing clearly divided into roughing and finishing stages of holes to ensure machining accuracy. Datum selection box input shaft and the output shaft of the supporting hole as a rough benchmark, with top with two holes as a precision technology reference. Main processes arrangements to support holes for positioning and processing the top plane, and then the top plane and the supporting hole location hole processing technology. In addition to the follow-up processes individual processes are made of the top plane and technological hole location hole and plane processing. Supported hole processing using the method of coordinate boring. The whole process of processing machine combinations were selected. Selection of special fixture fixture, clamping means more choice of pneumatic clamping, clamping reliable, institutions can not be locked, so the production efficiency is high, suitable for large batch, line processing, can meet the design requirements.
Key words: parts; fixture;
目 录
摘 要········································································································· II
ABSTRACT······························································································· III
第1章 加工工艺规程设计·············································································· 1
1.1 零件的分析····················································································· 1
1.1.1 零件的作用··············································································· 1
1.1.2 零件的工艺分析········································································· 1
1.2 支承座加工工艺措施········································································ 2
1.2.1 孔和平面的加工顺序··································································· 2
1.2.2 孔系加工方案选择······································································ 2
1.3 支承座加工定位基准的选择······························································· 3
1.3.1 粗基准的选择············································································ 3
1.3.2 精基准的选择············································································ 3
1.4 支承座加工主要工序安排·································································· 3
1.5 机械加工余量、工序尺寸及毛坯尺寸的确定········································ 5
1.6确定切削用量及基本工时(机动时间)··············································· 6
1.7 时间定额计算及生产安排································································ 23
第2章·· 支承座4-ø15孔夹具设计·································································· 28
2.1 研究原始质料················································································ 28
2.2 定位基准的选择············································································· 28
2.3 切削力及夹紧力的计算··································································· 28
2.4 误差分析与计算············································································· 29
2.5 夹具设计及操作的简要说明····························································· 30
总 结·········································································································· 31
参考文献····································································································· 32
致 谢·········································································································· 33


